
To view this content in our official product documentation, click here.
Introduction
The first stage of adding a new system is to provide basic details - these determine how your system will be presented throughout Patchworks,
What you need to do
Step 1 \ Having launched the connector builder, the basic details page is displayed - this is where you provide a name and other general details for your new connector:

Complete fields on this page using the table below as a guide:
| Field | Summary |
|---|---|
| Enter a name for your new system | This name is displayed for this system throughout Patchworks - for example, in the marketplace. |
| Enter a version for your new connector | Enter version information for this connector - for example: Version 1 - 28th July 2023. |
| Enter a description for your new system | Enter a description to provide a bit more information about this system. Text entered here is displayed beneath the connector title, whenever it is displayed in the system. For example:
|
| Select system type | Choose the required system type (e.g. eCommerce, ERP, Warehouse) from the dropdown list. The selected system type may determine what options are prompted subsequently. It's also used to categorise this connector.is displayed in the marketplace for this system. |
| Select protocol | Choose the appropriate protocol for your connector protocol.  For a REST or SOAP API, the protocol will be For a REST or SOAP API, the protocol will be HTTP. |
| Date format | Enter the expected date format for data received from or sent to this system. |
| Rate limit / Rate limit unit |
Determines the rate at which Patchworks is allowed to make API requests to the associated system. You will usually find this information in the API documentation for the system you're building against.
The rate limit defined here is used as the default when anyone adds an instance for this connector. If required, this default value can be changed per instance (for example, if you have multiple instances sharing the same rate limit). |
| Upload an icon |
Upload an icon to be displayed for this system throughout Patchworks - for example, in the marketplace and in the connector wizard when a connector is added for this system. The following image file types are supported:
Note: Images must be square and the file size cannot exceed 10MB. |
| Primary colour | Use the colour picker to select a background colour for your icon. This can be used to ensure that all of your connector icons are displayed in a consistent form: 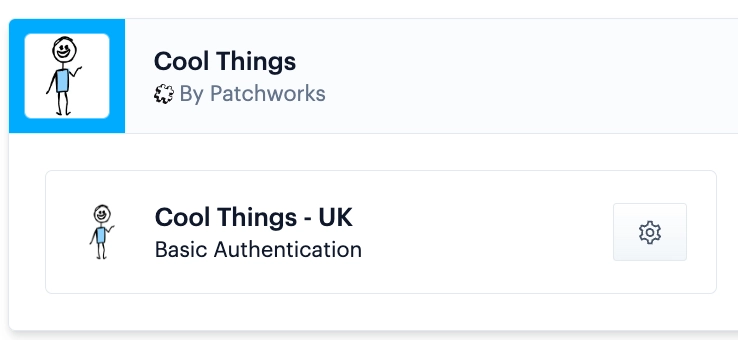
|
Step 2\ Having entered all required details, click the next step button for connector variables.
Comments
0 comments
Please sign in to leave a comment.